Reprap Extruder – Making It Better
Posted on September 24th, 2013 by George Moore
Why Build A New Reprap Extruder?
Back at the start of my reprap 3d printer journey, in 2011, I spent several fruitless months struggling with a 3d printer called a techzone huxley. Eventually I cut my losses and decided to build my own prototype 3d printer. Several 3D printer versions later, I have designed and 3d printed all parts for my printer except for one, the extruder. This relic of the original printer had printed a lot of components and novelty items for me but had always had its problems.
These problems were:-
- Inconsistent extrusion.
- Slow retraction of filament.
- Calibration lost on filament changeover as idler compression springs need to be undone.
- Not accessible.
Designing The New Reprap Extruder.

So with these problems in mind, I fired up Trimble Sketchup and got stuck into designing the new reprap extruder. A flurry of thinking, pushing and pulling later, I’d worked out the critical dimensions but it still wasn’t looking like a working design. A couple of days later I was feeling a bit more inspired and managed to bring it all together into a working 3D printable design. This design solved the basic problems I had set out to correct:
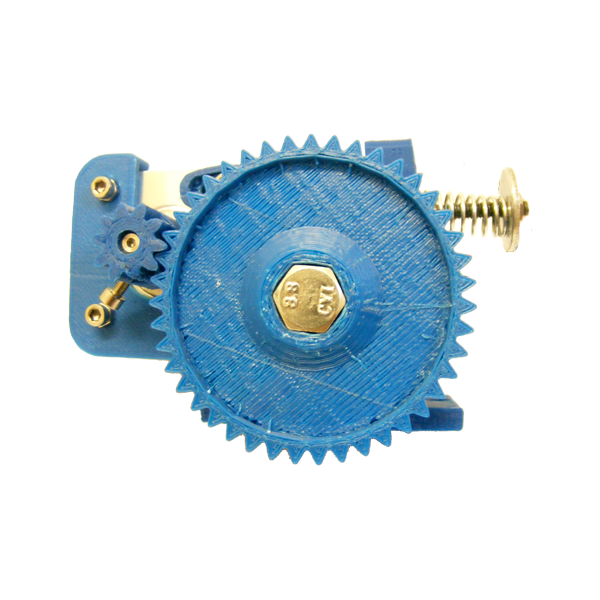
- The inconsistent extrusion was solved by replacing the poorly laser cut gear from the old extruder with an accurate 3D printed gear. A new hobbed bolt also helped with improving extrusion but I’ll talk about that in another post.
- The slow retraction was also solved by the new 3d printed gears, as they used a lower ratio of 4.3:1 rather than 7.5:1. Although this gearing requires more motor torque to drive, it does allow much faster acceleration and higher extrusion speeds.
- The loss of calibration on filament changeover was solved by designing an idler that uses a single spring, which once set with the correct pre-compression, can be opened by a quick release without interfering with the spring.
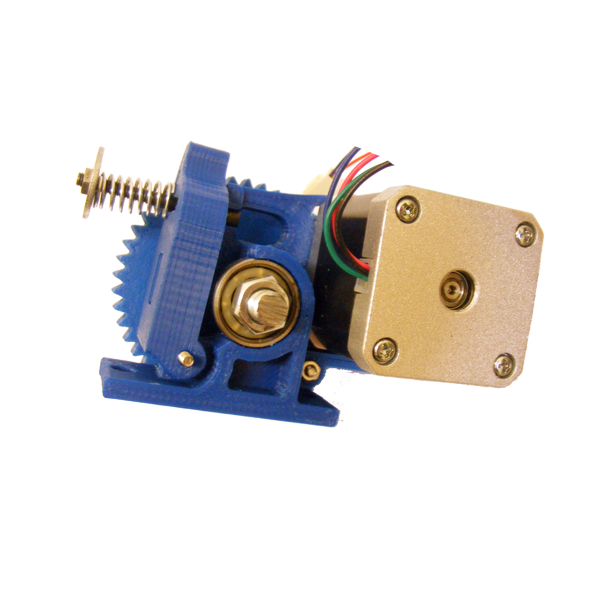
- The lack of accessibility was also solved by the quick release idler, combined with a separate motor mounting. The overall shape of the extruder body also allows for rapid and easy access to the filament and hobbed bolt.
As usually happens, when I’m designing something new, halfway through the print I started thinking, what if I did this bit different and that bit different. So before the first prototype had finished printing I had made several improvements to the design. After several redesigns and reprints, I finally arrived at a design for my new reprap extruder that I was happy with.
Does it Work?
The new reprap extruder is in service on my 3D printer and is performing consistently and reliably, despite several filament changes and approximately twenty 3d Prints with a lot of retraction.
 I hope you found this post about my new reprap extruder and making it better useful. Please comment on this post as your insights or questions are appreciated.